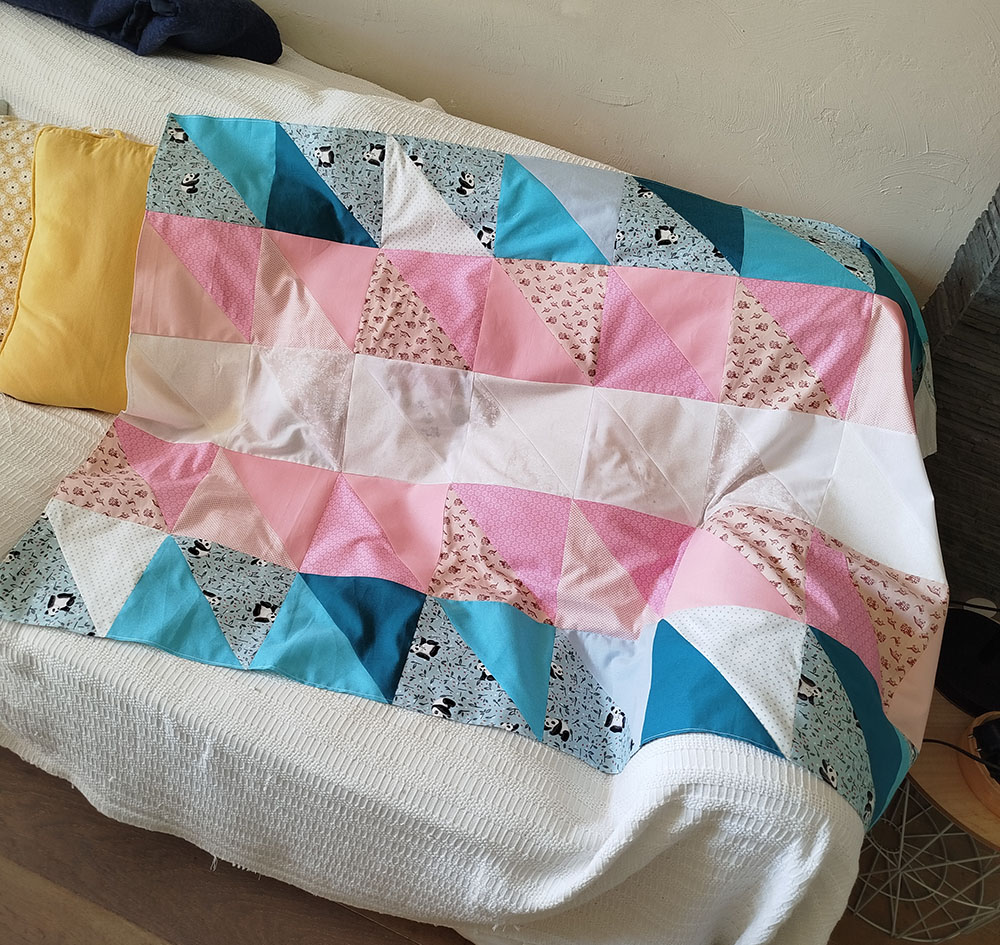
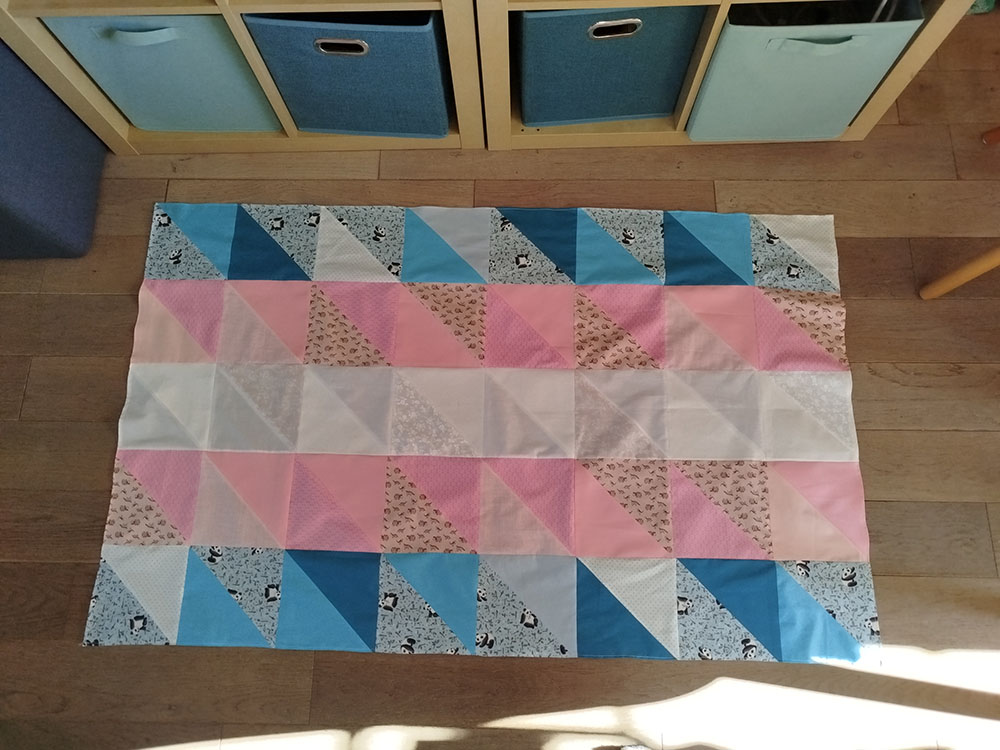
 Patchwork pride flag
I created this flag as a gift for a friend. It is a trans flag, so the measurements I will give are for a 5 stripes flag. I will also provide measurements for a 4 and 6 stripes flag so you can adapt it to what you want to do.
I don't have a lot of experience in patchwork and this is not a tutorial on how to do patchwork. It's just an easy project if you like patchwork, and makes for a very pretty flag to show!

You will need:
- A sewing machine (or your hands and a needle)
- Several scraps of fabric for each color of your flag (here light blue, light pink and white)
- Fabric scissors or a rotary cutter
- A 21x21cm sturdy template (27x27 for 4 stripes, 18x18 for 6 stripes)
- A quilting ruller
- A cutting mat if you use a rotary cutter
- An iron (a mini iron is great)


 Step 1
First, let's count how many squares of fabric you will need. The flag I made is approximately 1 meter large and 1,6 meter long. That requires 8 squares per row. So, for a trans flag, you will need:
- 16 light blue squares
- 16 light pink squares
- 8 white squares
For this project, I didn't want to buy any new fabric, so I made do with what I had in my stash. I highly suggest it if you have the colors you need! It's a lot of fun and a challenge to make the colors go together. Don't worry too much if the colors don't match exactly, it's part of the fun! On this flag, some of the blue triangles aren't light blue, but it still works!
Once you've got your fabric ready, let's get cutting!


 Step 2
I suggest you use a rotary cutter, it's much easier, but scissors work too!
Place your template on your fabric, then cut the number of squares required per color. The measurements I gave include the seam allowance.
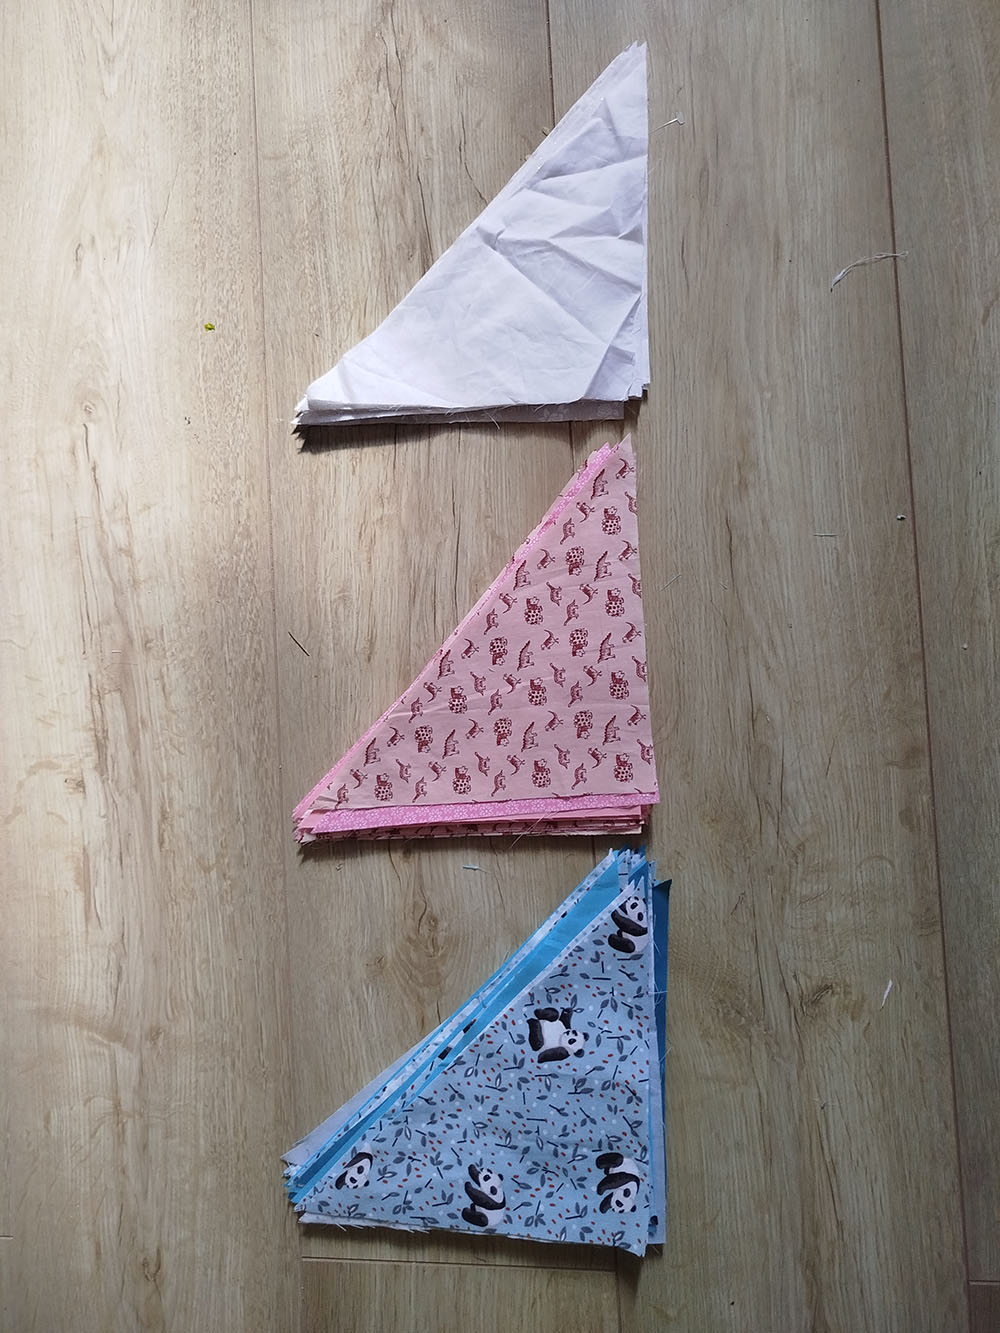
Once your squares are cut, if you want triangles like I did, cut each of your squares in the diagonal.
Now, you have a pretty stash of triangles! Iron them so they're all pretty.

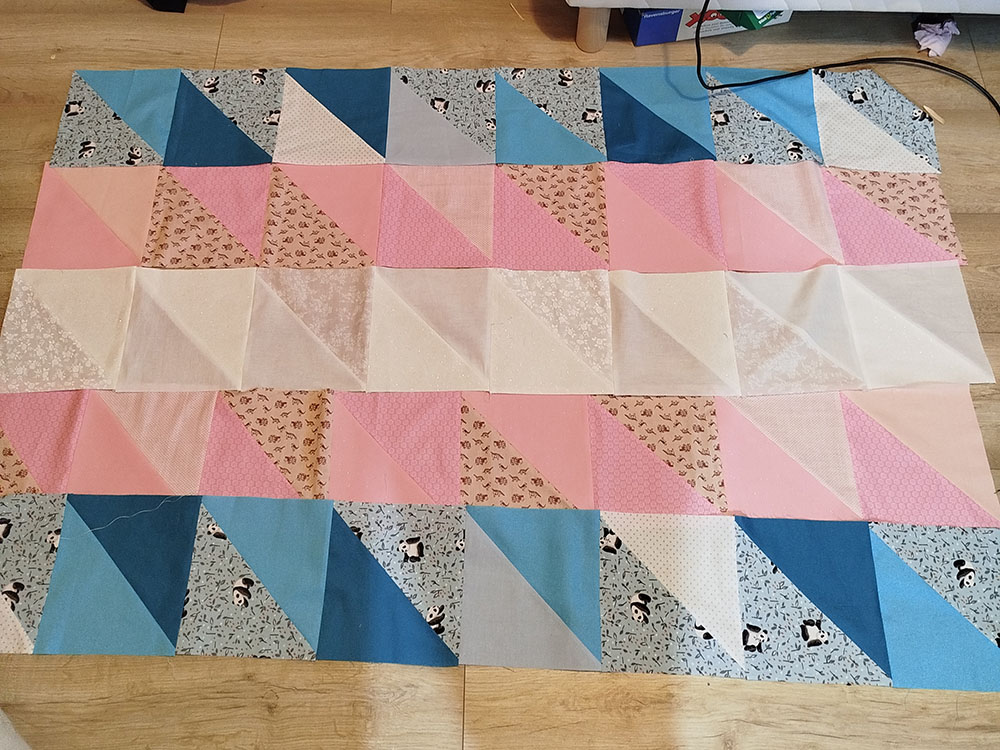
Find some space on your floor big enough to layout your flag. Place the pieces of fabric and arrange them until you get the arrangement you like. It can be a bit tricky, especially if you have a lot of the same fabric like I had. That's why the more different fabrics, the best it is! Take a photo or make a graph so you don't forget.


 Step 3
Let's get sewing!
First, sew each square by assembling the 2 triangles.
Once it's done, sew each row, one square at a time. Once it's done, press the seams open
Then, sew each row to the others until your flag is complete! Press the seams open again
Last step, hem the sides of the flag by folding it and sewing all around the border.


thanks to Antlers for the pride flags pixels!